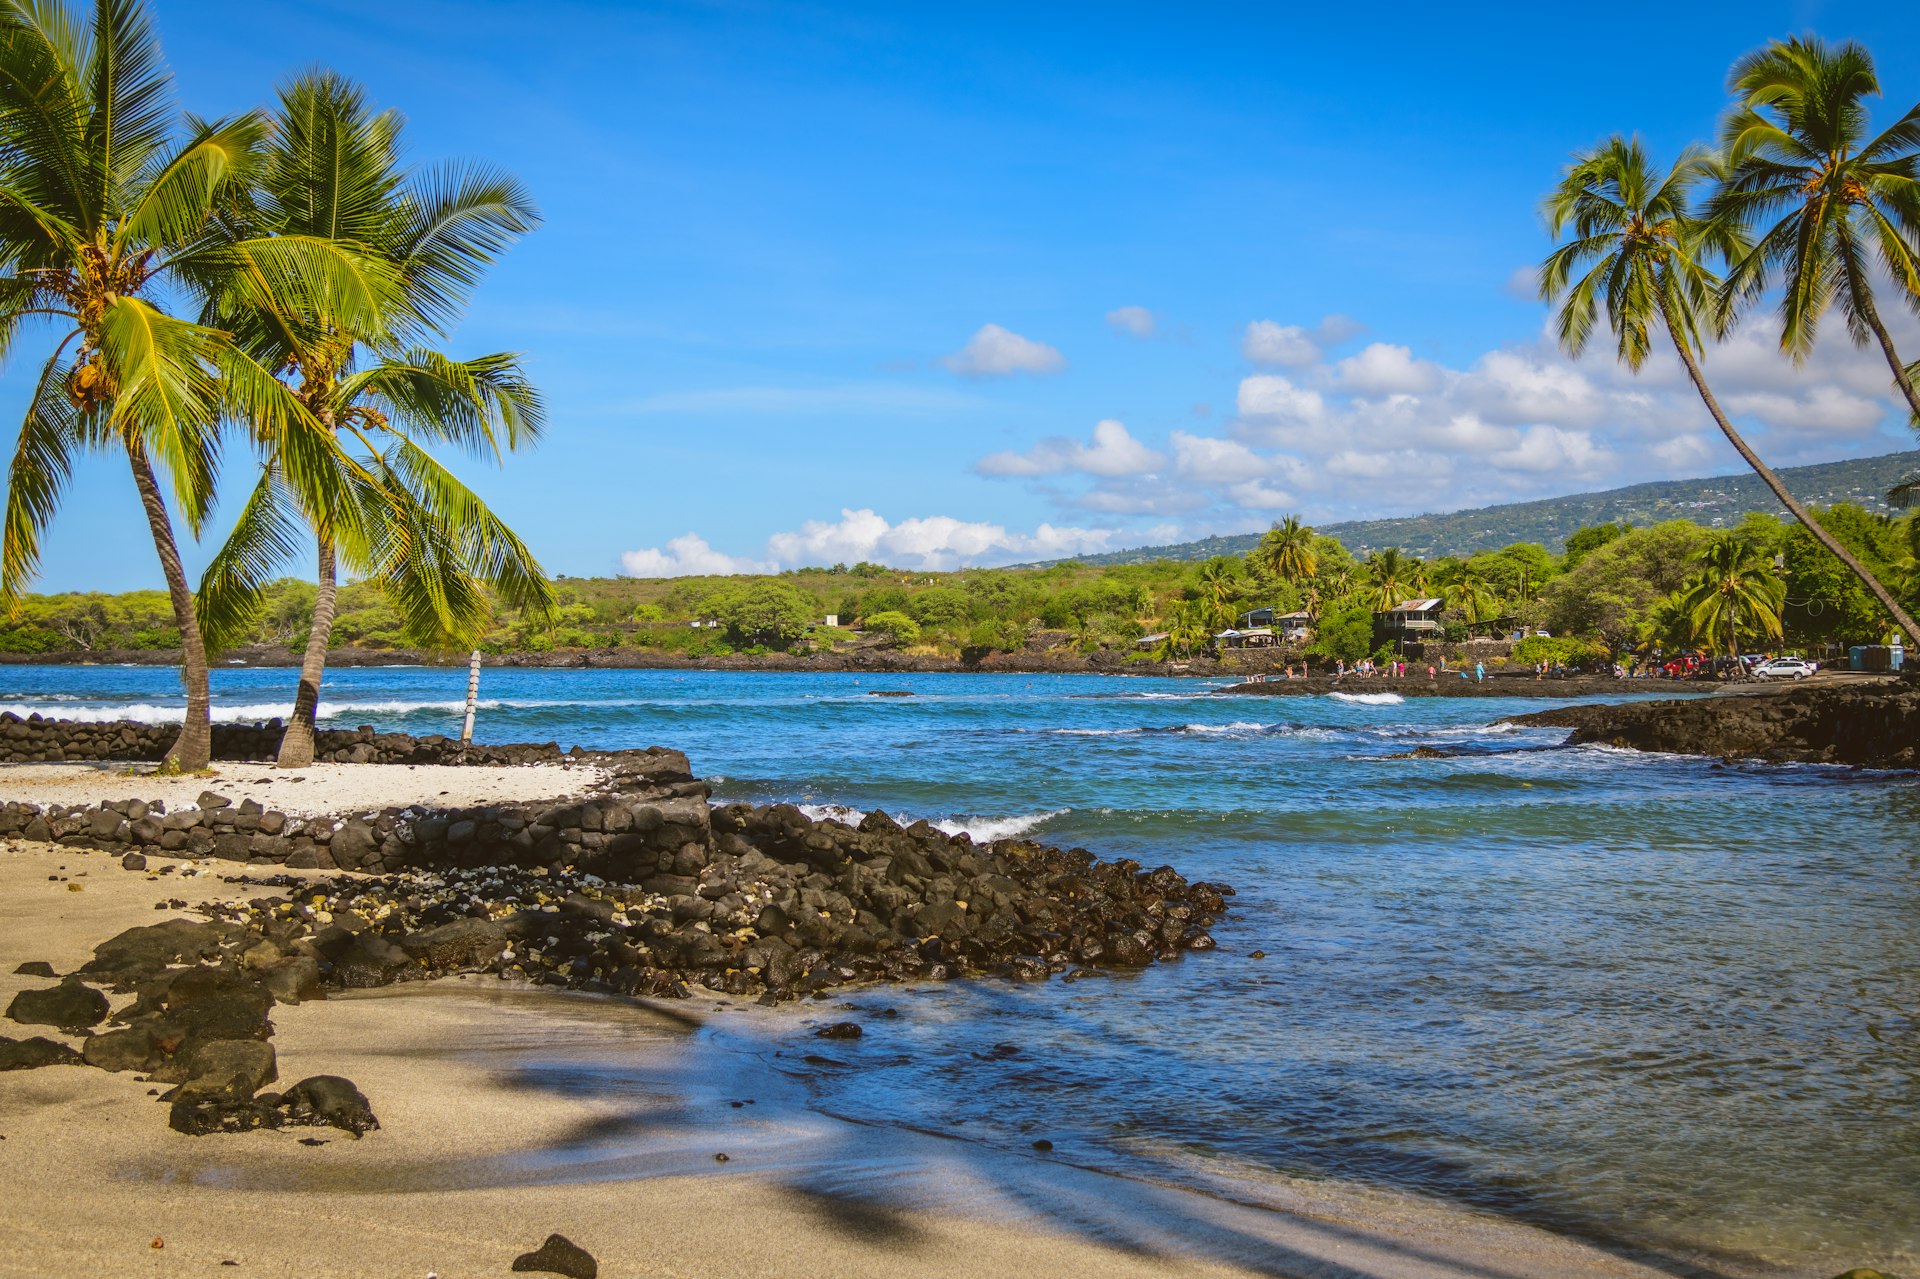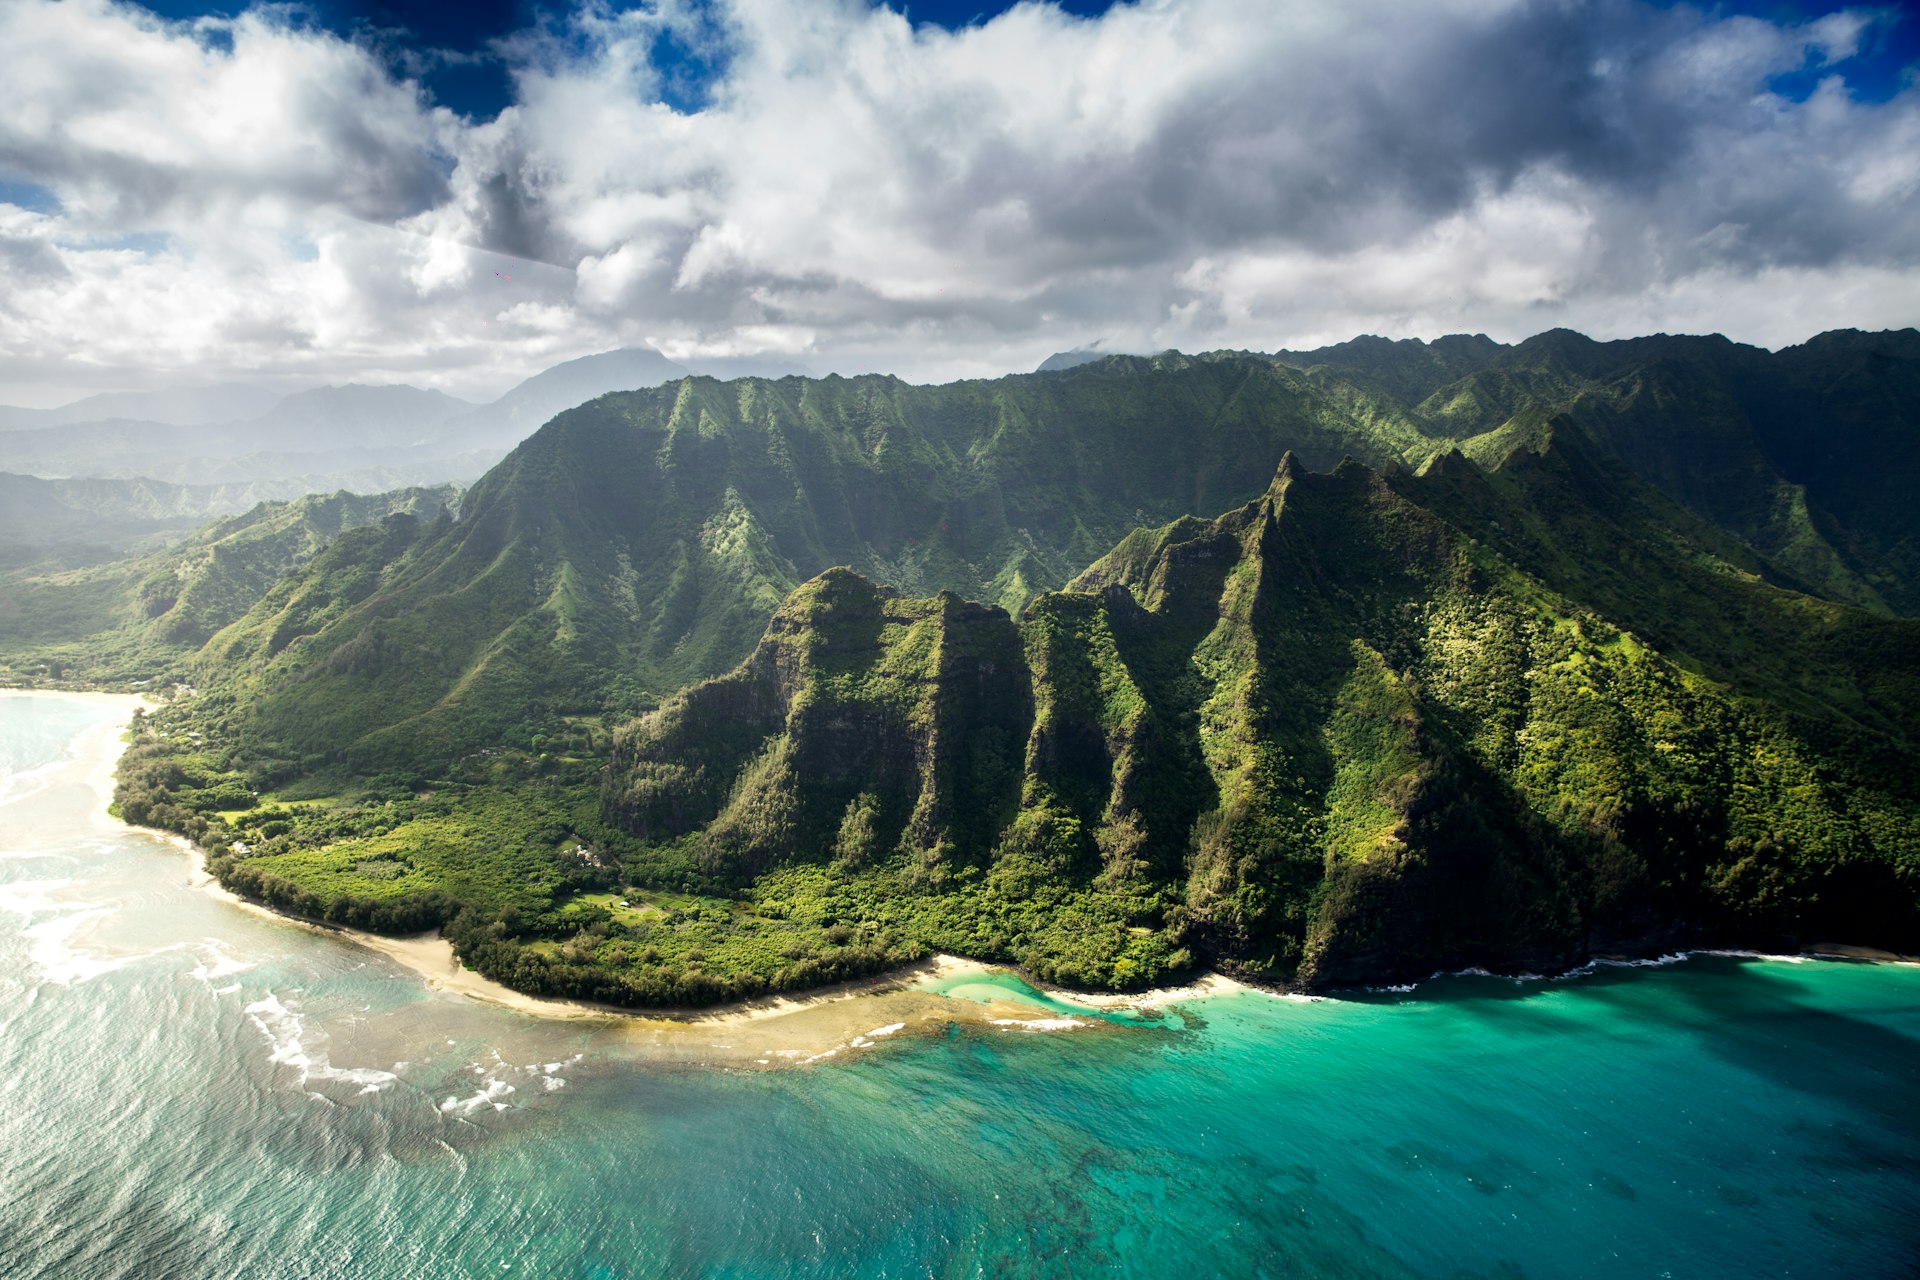
"Bean-to-bar" isn't just a marketing term—it describes a complete transformation that takes months of careful work. In Hawaii, where nearly all cacao is processed locally, you can witness this entire journey firsthand. Here's what happens between the tree and your taste buds.
What is Bean-to-Bar?
Bean-to-bar chocolate is made by companies that control every step of production, from sourcing or growing cacao beans to producing finished chocolate. This contrasts with most commercial chocolate, which is made from pre-processed cocoa mass or powder.
Hawaiian Distinction
In Hawaii, bean-to-bar often becomes "tree-to-bar"—many makers grow their own cacao or work directly with local farms, creating an even more integrated process.
Step 1: Growing the Cacao Tree
Cacao trees (Theobroma cacao—literally "food of the gods") are tropical understory plants that thrive in Hawaii's warm, humid microclimates.
Growing conditions:
- Temperature: Never below 68°F
- Rainfall: 70-150 inches annually
- Elevation: Sea level to ~1,000 feet
- Soil: Rich, well-drained volcanic earth
Hawaiian cacao trees take 3-5 years to produce their first pods. Once mature, they produce year-round, with pods growing directly from the trunk and major branches in a pattern called "cauliflory."
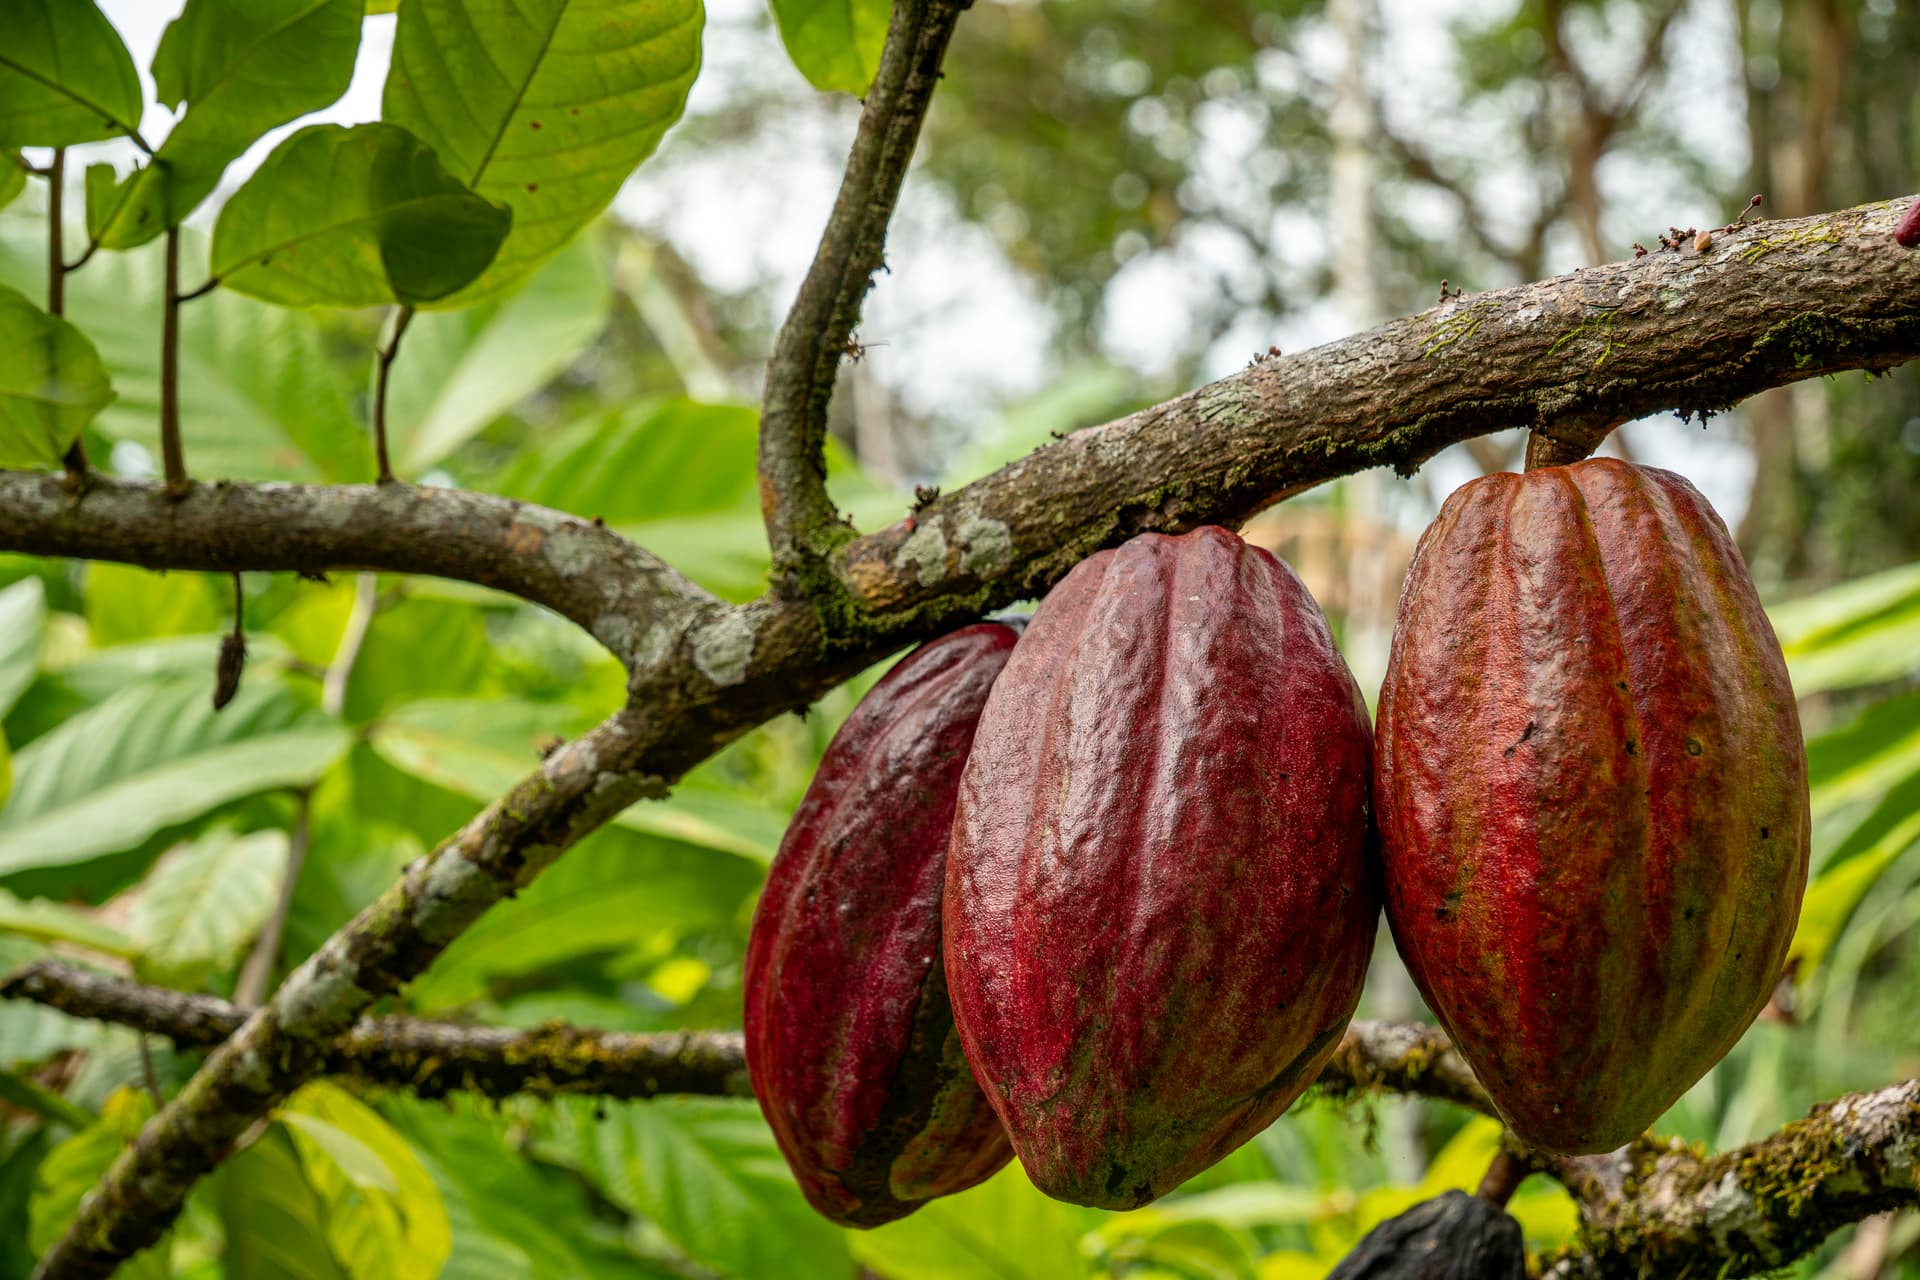
Step 2: Harvesting the Pods
Cacao pods don't ripen all at once, so harvesting happens continuously throughout the year. Farmers walk their orchards every 1-2 weeks, identifying ripe pods by color change—typically from green to yellow, orange, or red depending on variety.
Harvesting is done by hand using machetes or specialized tools. The pods are carefully cut to avoid damaging the flower cushions that will produce future pods.
Each pod contains 30-50 cacao beans surrounded by sweet, white pulp called "mucilage." The beans at this stage taste nothing like chocolate—they're bitter and astringent.
Step 3: Fermentation
This is where the magic begins. Fermentation is arguably the most critical step in developing chocolate flavor.
The process:
- Beans and pulp are scooped from pods into wooden fermentation boxes or covered piles
- Natural yeasts and bacteria begin breaking down the sugary pulp
- Temperatures rise to 120-130°F
- Chemical reactions inside the beans develop flavor precursors
- The process takes 5-7 days with regular turning
Hawaiian Innovation
Some Hawaiian farms take advantage of the islands' microclimates, fermenting beans on the wet windward side where humidity is high, then transporting them to the dry leeward side for optimal sun-drying.
Fermentation kills the bean's embryo, preventing germination, and develops the hundreds of flavor compounds that will become chocolate's complex taste.

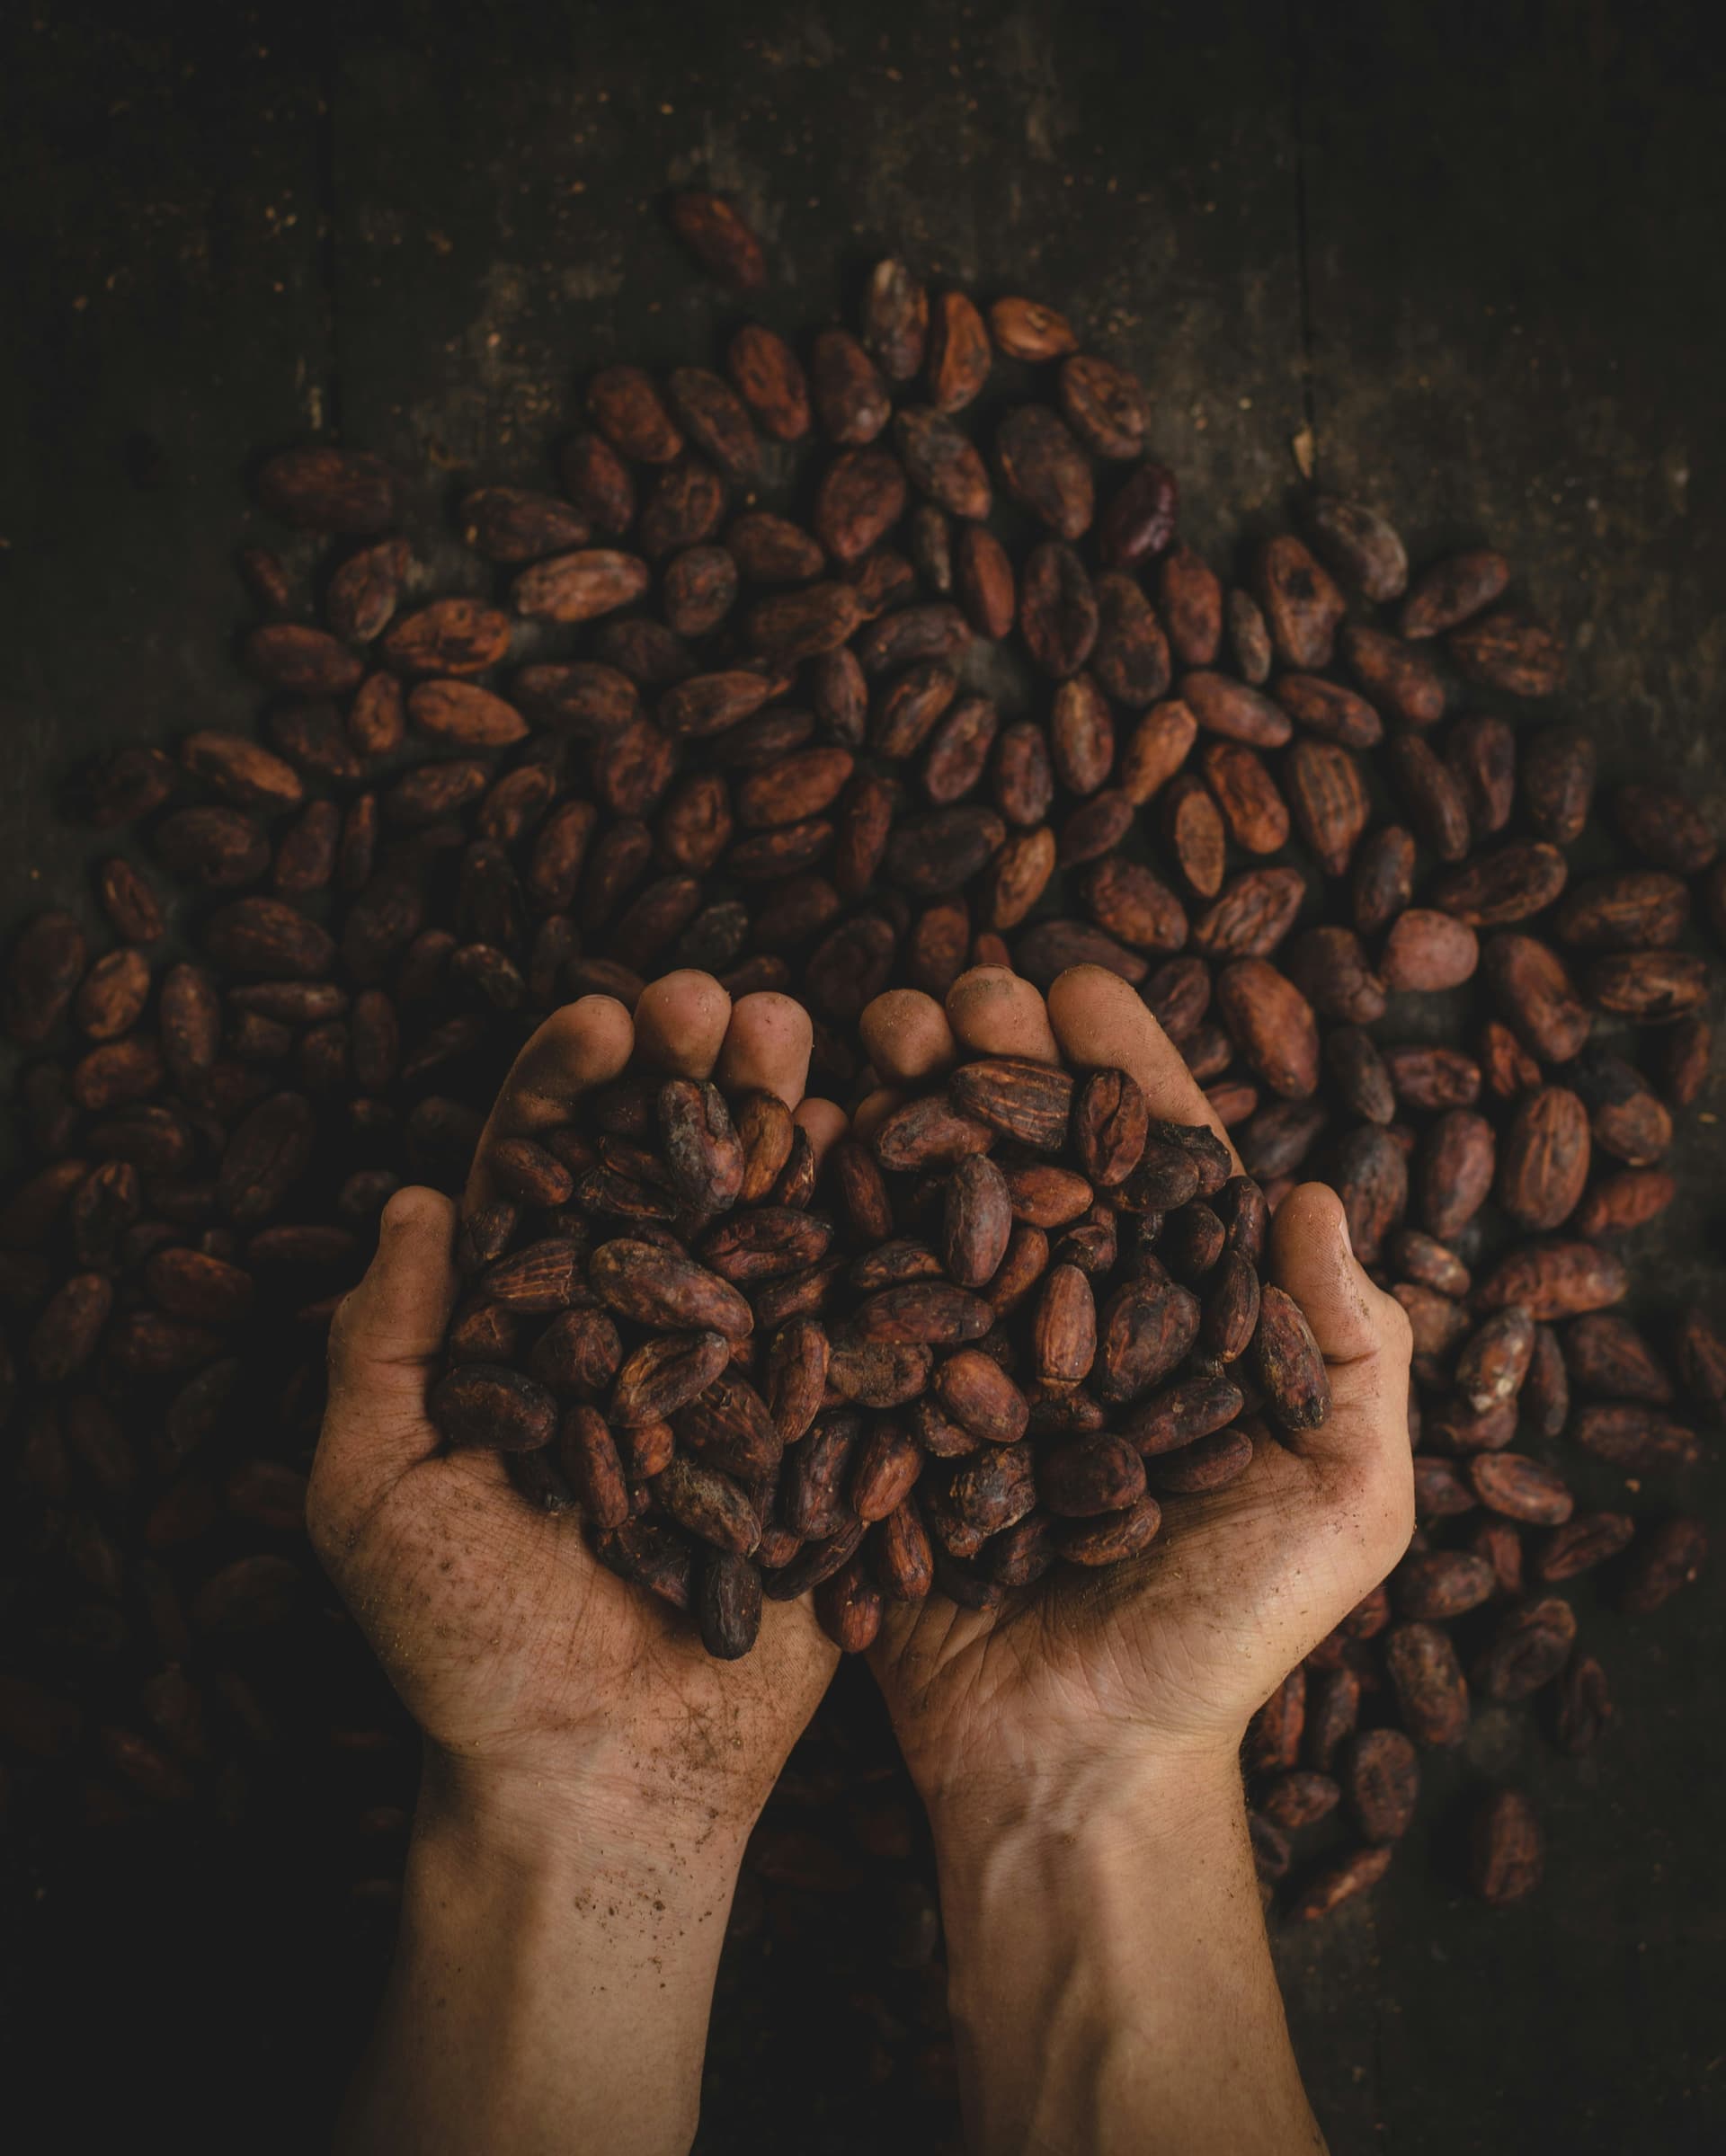
Step 4: Drying
After fermentation, beans must be dried from about 60% moisture to 6-7%. In Hawaii, this typically happens on raised drying beds under the tropical sun.
Drying takes 5-14 days depending on weather. Beans are turned regularly to ensure even drying and prevent mold. Properly dried beans have a reddish-brown color and a clean, chocolate-y aroma.
At this point, the beans can be stored for months or even years before being made into chocolate.
Step 5: Roasting
Roasting transforms dried cacao beans into something recognizably chocolate-like. The process:
- Develops flavor through Maillard reactions (the same chemistry that browns bread and sears steak)
- Loosens the shell from the inner nib
- Reduces moisture further
- Kills any remaining microorganisms
Roasting temperatures and times vary by maker—it's one of the key variables that distinguishes one chocolate from another. Lighter roasts preserve more origin character; darker roasts develop deeper, more familiar chocolate notes.
Step 6: Cracking and Winnowing
After roasting, the beans are cracked to separate the outer shell from the inner "nibs"—the part that becomes chocolate.
Winnowing uses air currents to blow away the lighter shells while the heavier nibs fall through. It's essentially a very precise form of threshing.
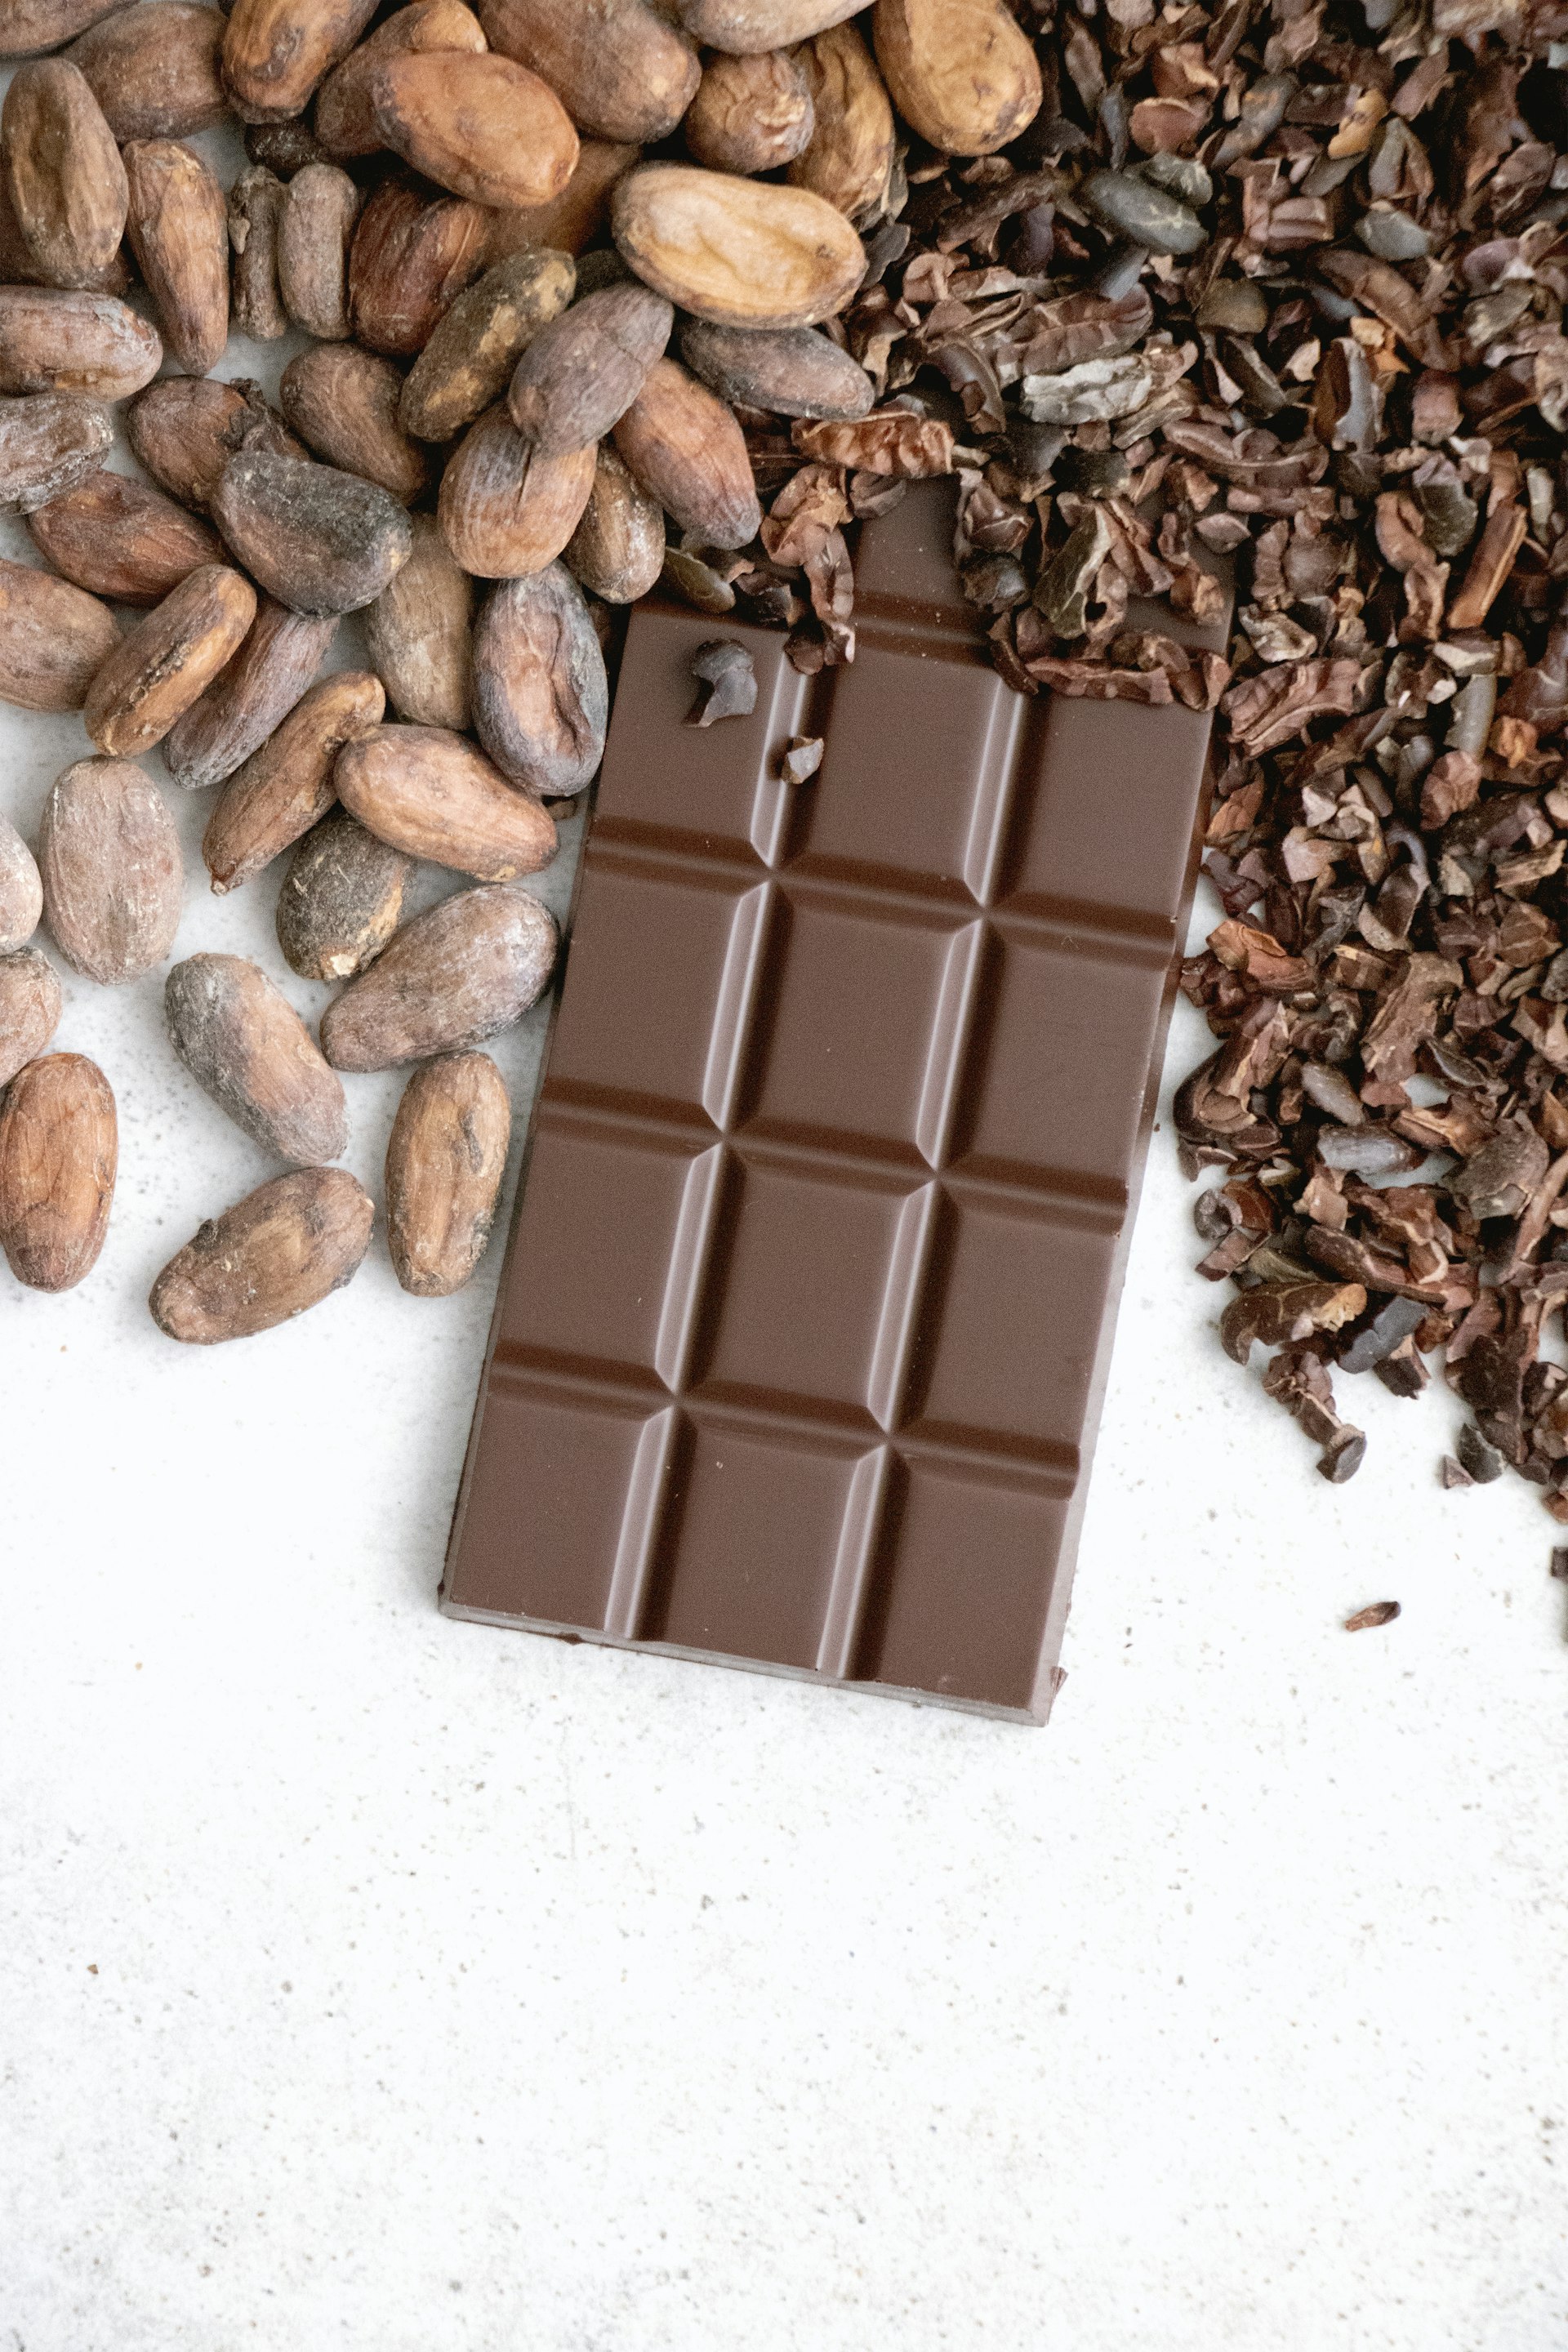
The result: pure cacao nibs, ready to be ground into chocolate.
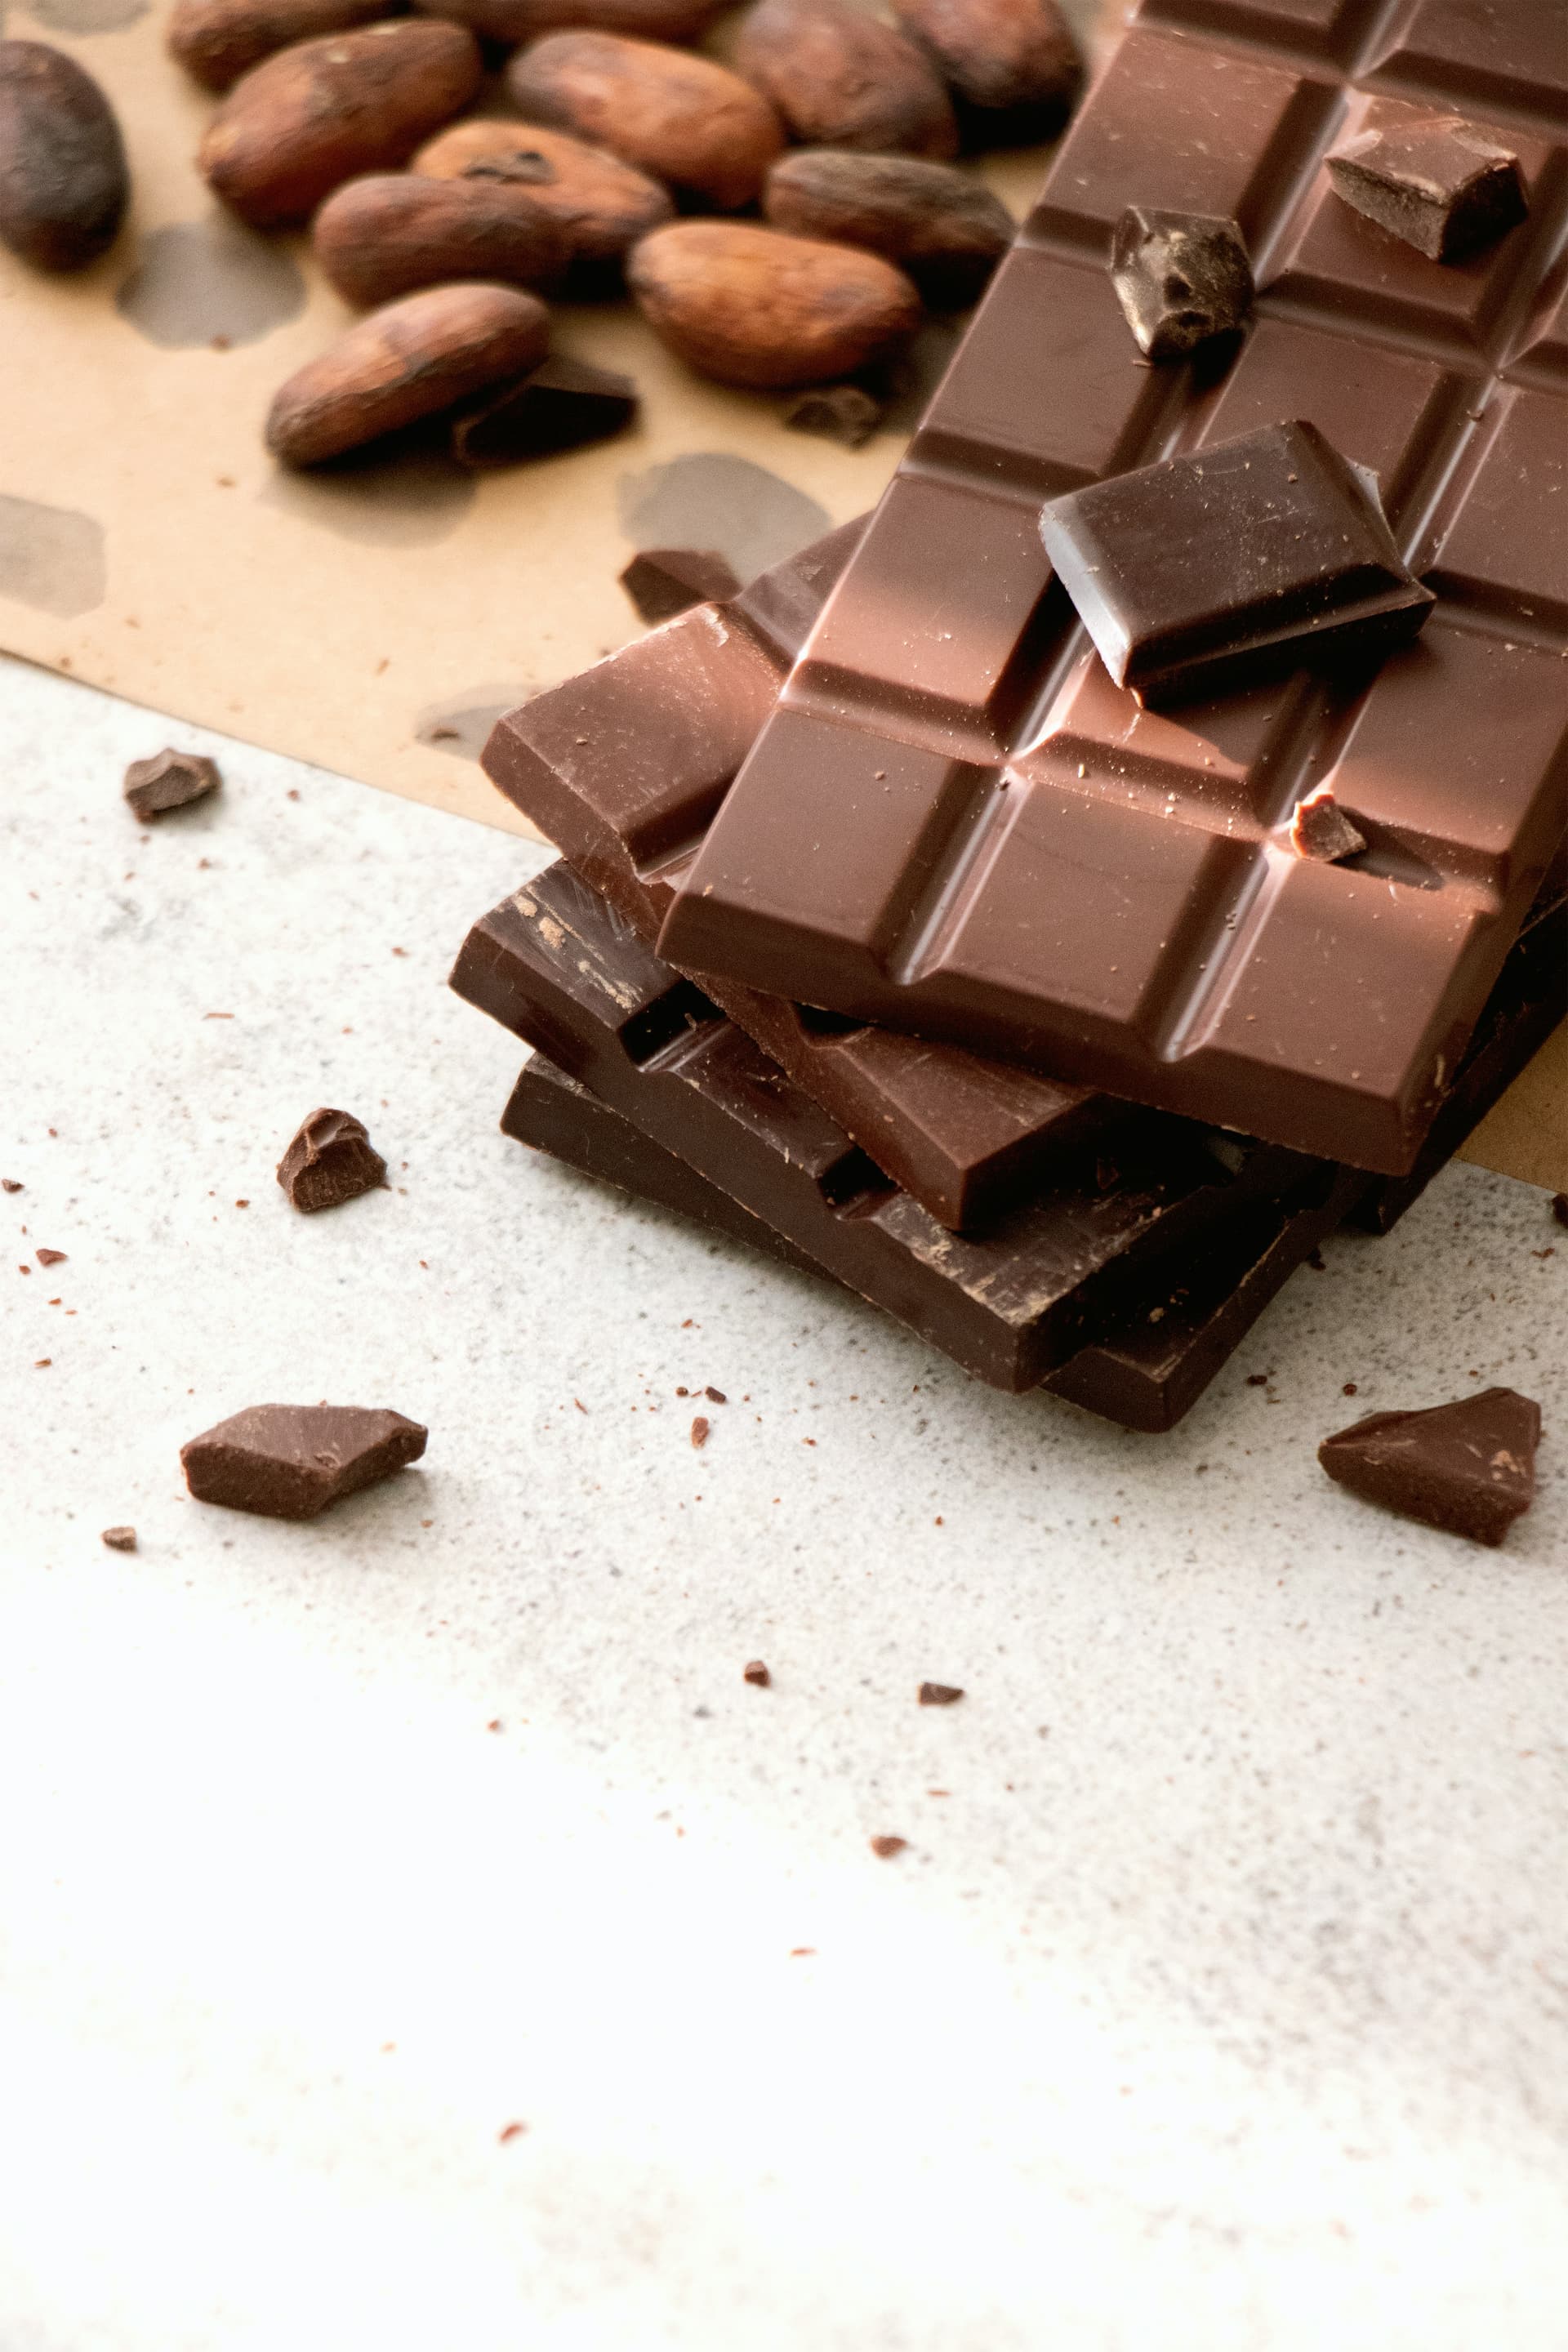
Step 7: Grinding and Refining
Cacao nibs are about 50% fat (cocoa butter). When ground, this fat releases and the nibs become liquid—pure, unsweetened chocolate liquor.
Stone grinding (using a machine called a melanger) is common among craft chocolate makers. Granite wheels rotate for 24-72 hours, simultaneously grinding the nibs finer and developing flavor through aeration and friction.
During this phase, sugar is typically added. The ratio of cacao to sugar determines the percentage you see on chocolate bars (e.g., 70% cacao means 70% cacao, 30% sugar).

Step 8: Conching
Conching is extended mixing and aeration that smooths texture and further develops flavor. The term comes from the shell-shaped vessels originally used for this process.
What conching does:
- Reduces particle size for smooth mouthfeel
- Drives off unwanted volatile acids
- Further develops flavor through oxidation
- Distributes cocoa butter evenly
Conching can take hours to days. Longer conching generally produces smoother, more refined chocolate.
Step 9: Tempering
Tempering is the controlled crystallization of cocoa butter. Without proper tempering, chocolate would be soft, crumbly, and dull-looking.
The process involves:
- Heating chocolate to fully melt all cocoa butter crystals
- Cooling while agitating to form "seed" crystals of the desired type
- Slightly rewarming to melt unstable crystals while preserving stable ones
Properly tempered chocolate has:
- A glossy sheen
- A satisfying snap when broken
- Resistance to melting at room temperature
- Smooth texture on the tongue
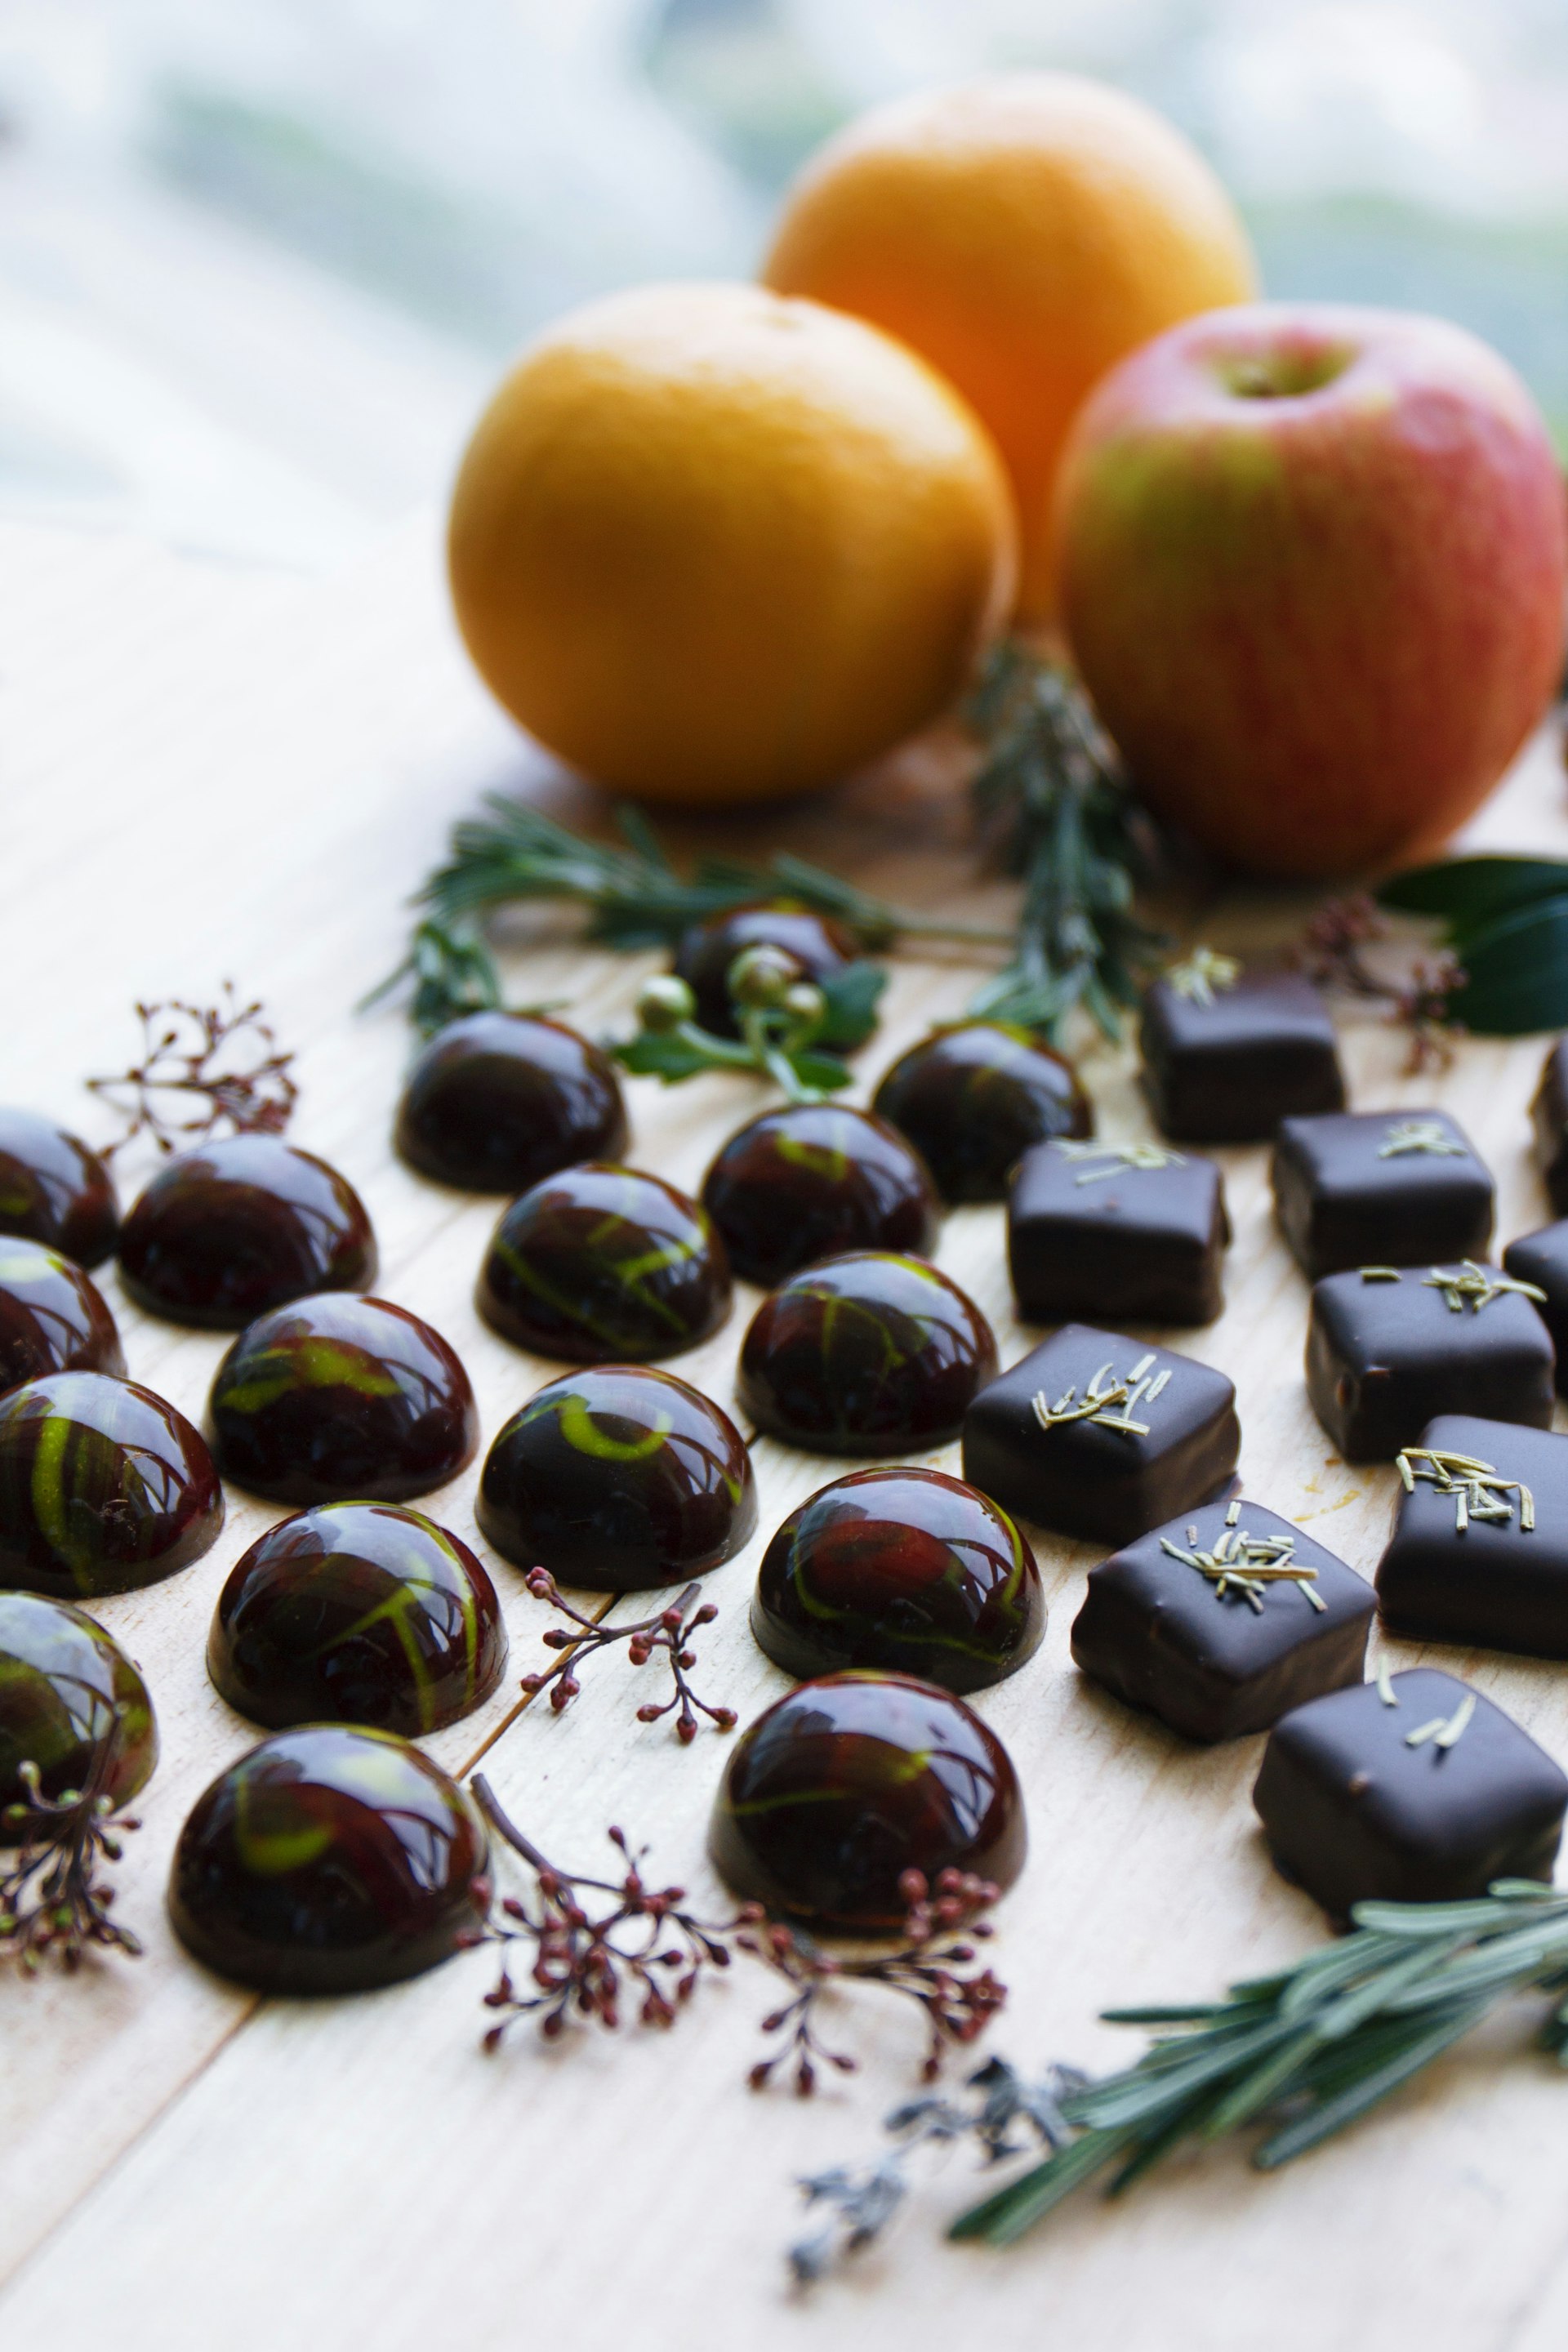
Step 10: Molding and Packaging
Finally, tempered chocolate is poured into molds, allowed to set, and packaged. Many Hawaiian makers hand-wrap their bars, adding personal touches to the final product.
From pod to package, the entire process takes months. It's this patience and attention at every step that makes bean-to-bar chocolate—and especially Hawaiian bean-to-bar chocolate—something truly special.
Experience It Yourself
Many Hawaiian chocolate farms offer tours where you can see these steps firsthand. Some even offer hands-on workshops where you can try cracking, winnowing, and tasting at various stages.
Find farms offering tours on our interactive map and filter by "Farm Tours" to start your bean-to-bar adventure.
Tags
Chocomaps Team
Editorial
Sharing stories about Hawaiian-grown cacao and the people who make exceptional chocolate in the islands.